
While Reconstruct supports more than 60 formats of BIM files, Revit models are the most popular (and recommended) BIM format for Reconstruct. Generally, all Revit files are set up properly to work in Reconstruct and Navisworks, however, if your files seem to not work/display properly in Reconstruct and/or Navisworks, there is a good chance that the (1) Detail Level, (2) Publish Settings, and (3) Visibility/Graphics are not set correctly. To remedy this problem, set the Detail Level to Fine, go into Revit and include the desired 3D view in the Publish settings, and show all the elements in your 3D view.
Detail Level
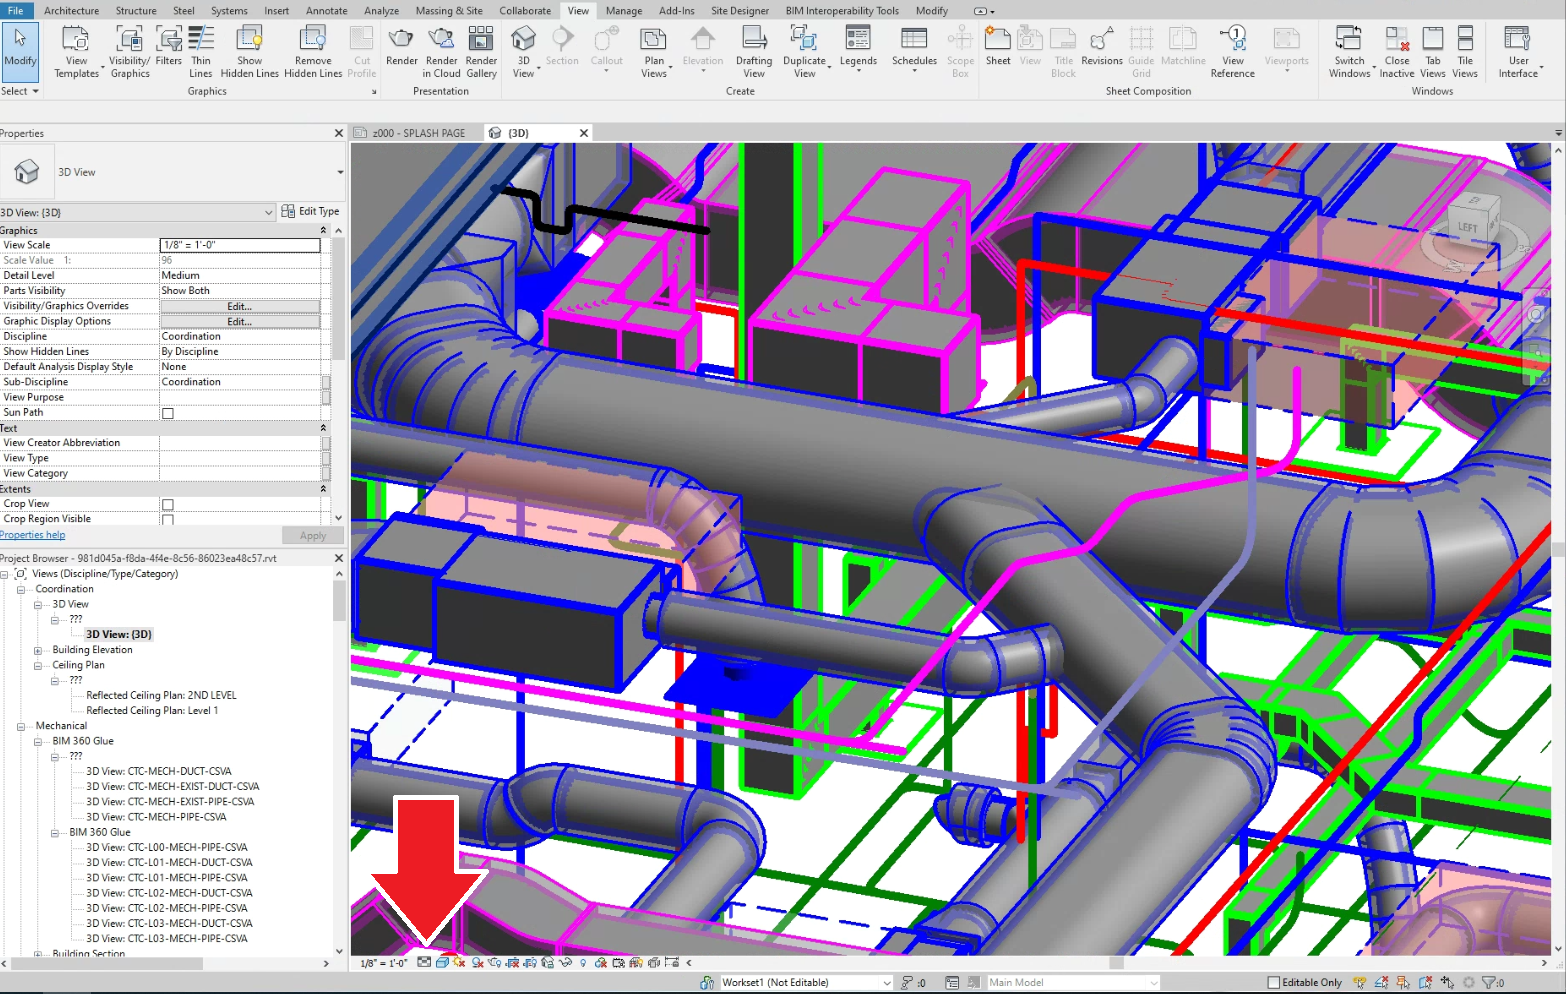
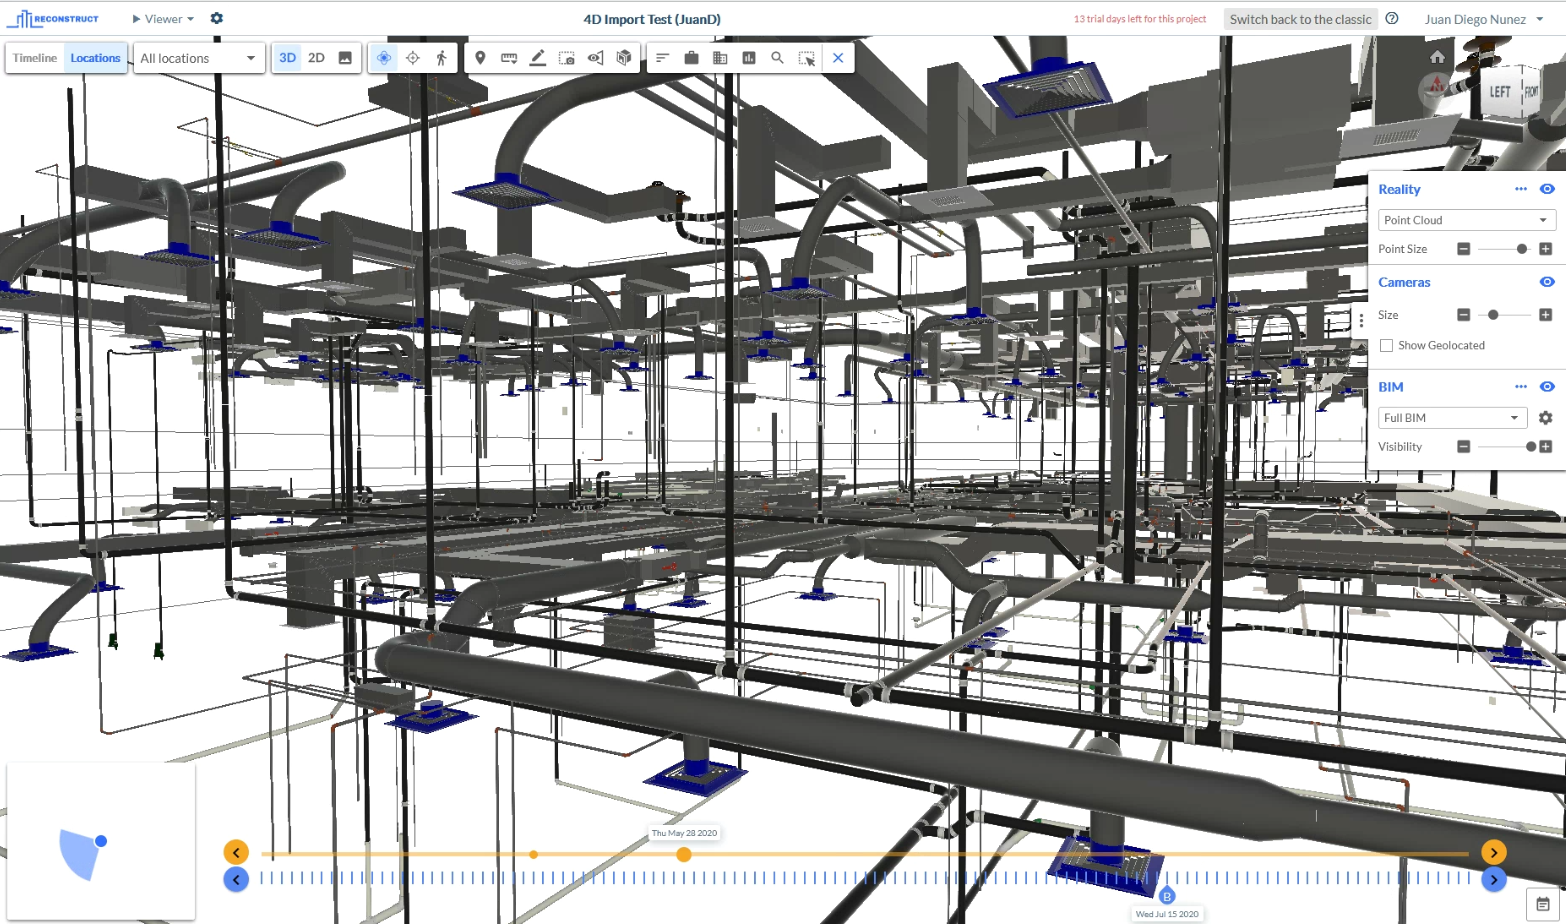
Before publishing, set the Detail Level to Fine before saving and publishing your Revit project. If it's set to lower detail settings, elements in the viewer will look oversimplified and be difficult to locate by plain sight. The top two photos are a bad example, where the Detail Level was not set to Fine before publishing to Reconstruct. The bottom two photos are a good example, where the Detail Level was set to Fine instead.
- Revit Model Saved with Detail Level Set To Medium (Bad Example)
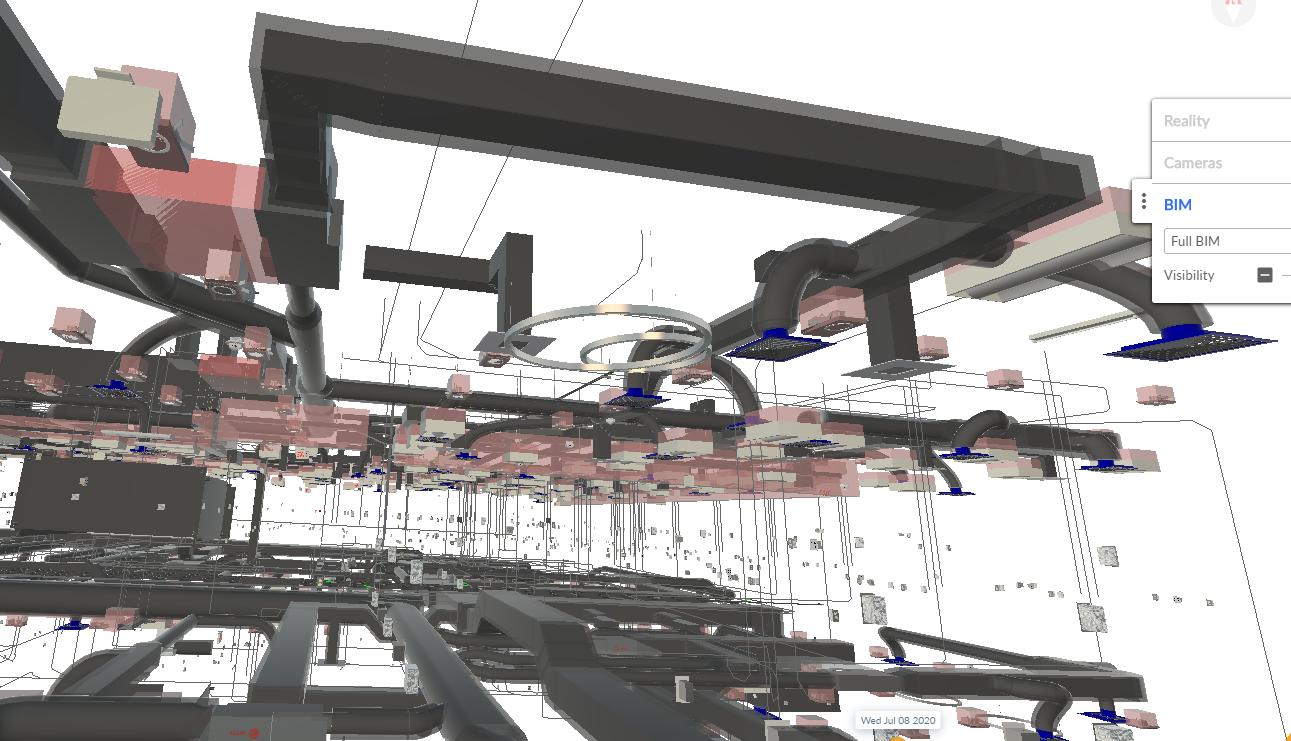
- Revit Model Saved with Detail Level Set To Fine (Good Example)
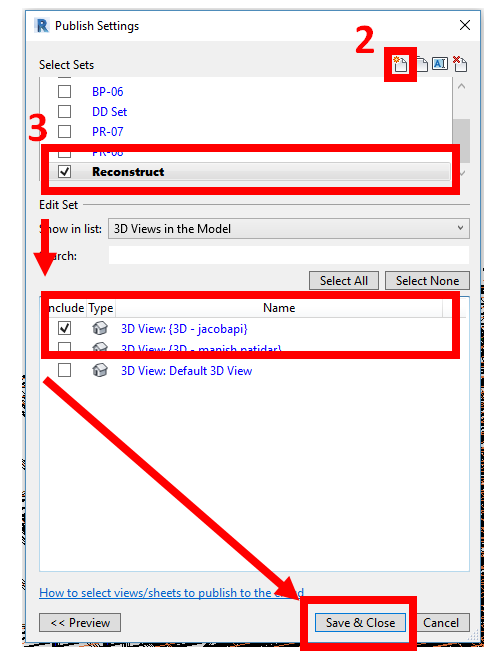
Publish Settings
Publish Settings (Autodesk help) control the Views and Sheets that will be included when publishing to the cloud. The default 3D View and all 2D sheets are usually published by default, but multiple 3D Views are created, make sure your 3D View of interest is included in the settings. We recommend that you create a new set for Reconstruct models and include the respective 3D view in there. To do so:
1. Click the Collaborate tab, look under the "Manage Models" panel, and click on Publish Settings.

2. To create a new set, click the "New Set" icon in the Publish Settings dialog. Enter a name for the set and click OK.
3. Select the newly created set, include the desired 3D View, and click "Save & Close".
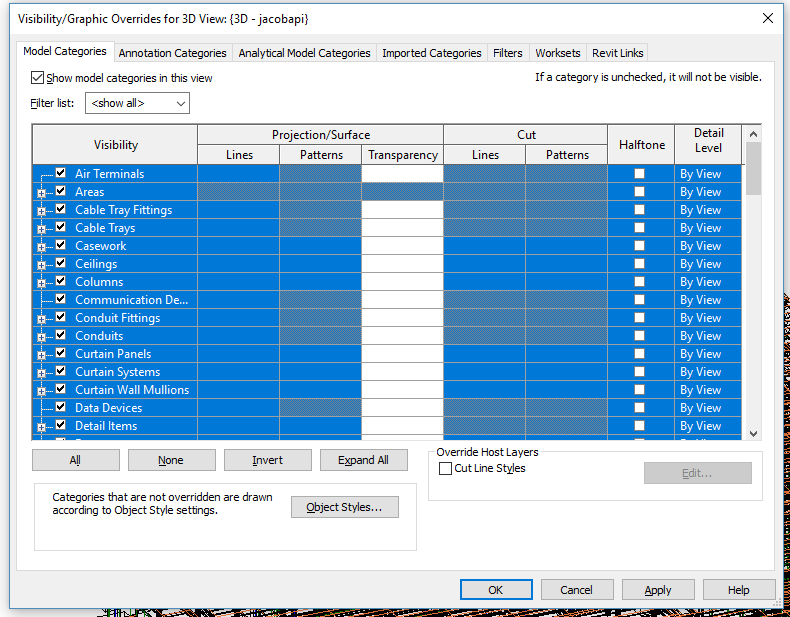
Visibility/Graphics
Revit users sometimes set up different Visibility for elements in View Templates for different purposes. However, you always want to show a complete Revit model in Reconstruct. To ensure all the elements are visible in the 3D View, remove the View Template and make all the desired elements visible in Visibility/Graphics. To do so:
1. Select "View Template" under "View Properties - Identity Data". Select "<None>" to remove View Template for the 3D View.

2. Go to the "View" tab and select "Visibility/Graphics" under Graphics, and enable all the desired elements.

Comments
0 comments
Article is closed for comments.